 EclipseCon is in about a month, and we are so excited about what’s cooking for M2M this year!
Today, we contributed Mihini source code, after an initial review that took longer than what we initally planned, and EclipseCon in Boston will be the first opportunity for you to get a real deep dive into the Eclipse Koneki and Mihini projects.
Over the last few months, we have been working on putting together a nice setup showcasing the software components we are developing for doing M2M at Eclipse, and if you join our tutorial, you will have a chance to recreate something very similar by yourself (minus the actual greenhouse…)!
What is even cooler, is that you’ll get to leave the session with the very same hardware you’ll have hacked with during three hours! That is:
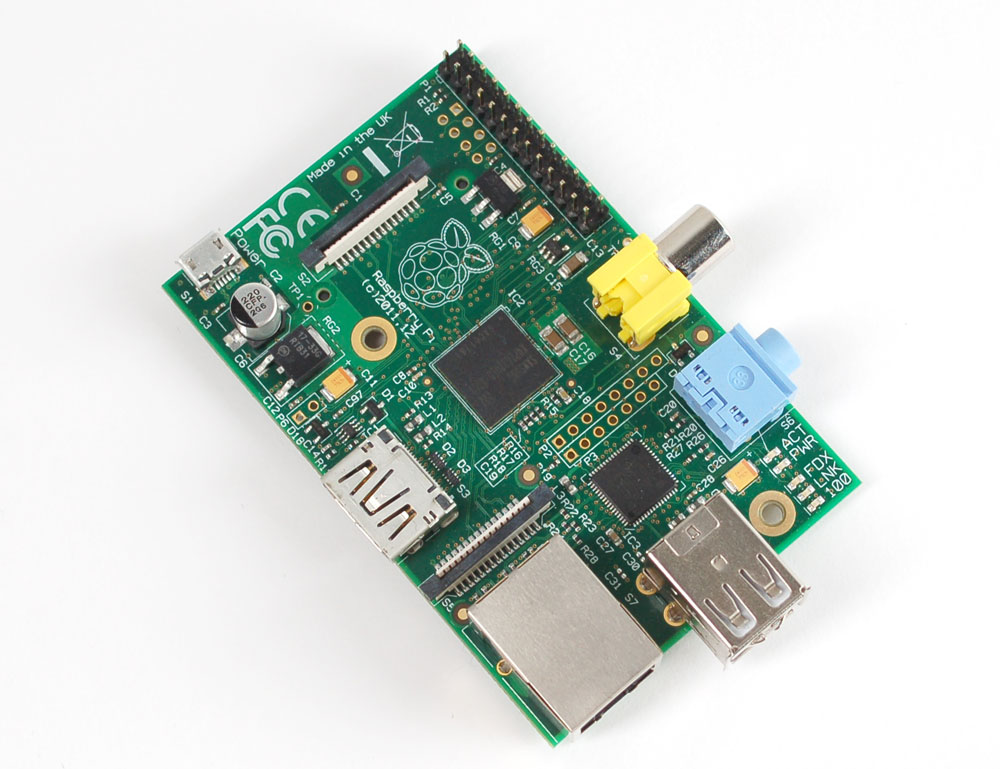
- a fully functional Raspberry Pi, with its SD card and a Wi-Fi dongle,
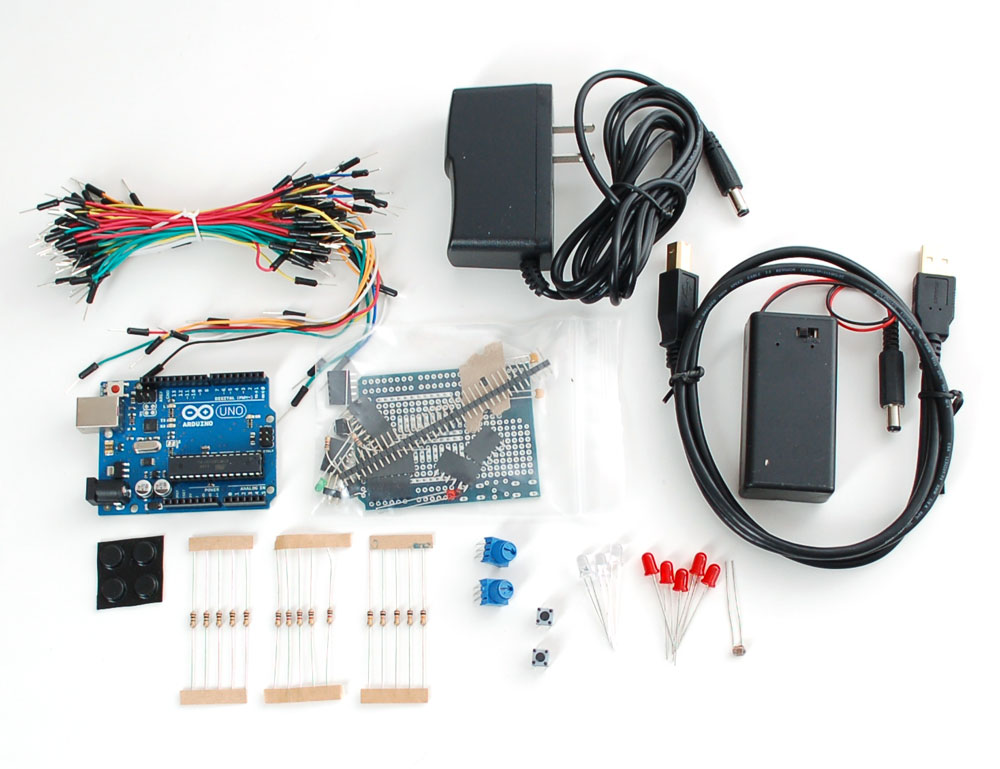
- an Arduino Uno, with different kind of sensors (light sensor, push buttons, potentiometers) and actuators (LEDs, ), …
Why is it cool?
Well, first, you willl leave the tutorial with a fully functional code allowing you to interact with physical sensors, making their values available on the Internet for you to just use it.
Then, all this hardware you’ll get, is highly repurposable. The Raspberry Pi, for example, is a pretty powerful Linux board that can act as a media-center, a VoIP server, a web server, etc. The Arduino is a prototyping platform that can be extended in many ways, and the kit you’ll have can be the initial seed for your next DIY project!
What do I have to do?
If you are already registered for EclipseCon, you will soon receive an e-mail for changing your reservation and paying the extra amount of money for getting the hardware. If you are not, then make sure to indicate whether or not you want to pay for the hardware when you register to the conference and tutorial. Please make sure to place your order before March 13!
Note that buying a kit is absolutely not a prerequisite, and we will lend you one for the duration of the tutorial if you didn’t want or didn’t have time to order one for yourself.
Finally, if you are already in Boston on Sunday, 24th, we will welcome you at the Code Sprint session if you feel like you want to hack with us and have a sneak peek at the tutorial!
EclipseCon is in about a month, and we are so excited about what’s cooking for M2M this year!
Today, we contributed Mihini source code, after an initial review that took longer than what we initally planned, and EclipseCon in Boston will be the first opportunity for you to get a real deep dive into the Eclipse Koneki and Mihini projects.
Over the last few months, we have been working on putting together a nice setup showcasing the software components we are developing for doing M2M at Eclipse, and if you join our tutorial, you will have a chance to recreate something very similar by yourself (minus the actual greenhouse…)!
What is even cooler, is that you’ll get to leave the session with the very same hardware you’ll have hacked with during three hours! That is:
- a fully functional Raspberry Pi, with its SD card and a Wi-Fi dongle,
- an Arduino Uno, with different kind of sensors (light sensor, push buttons, potentiometers) and actuators (LEDs, ), …
Why is it cool?
Well, first, you willl leave the tutorial with a fully functional code allowing you to interact with physical sensors, making their values available on the Internet for you to just use it.
Then, all this hardware you’ll get, is highly repurposable. The Raspberry Pi, for example, is a pretty powerful Linux board that can act as a media-center, a VoIP server, a web server, etc. The Arduino is a prototyping platform that can be extended in many ways, and the kit you’ll have can be the initial seed for your next DIY project!
What do I have to do?
If you are already registered for EclipseCon, you will soon receive an e-mail for changing your reservation and paying the extra amount of money for getting the hardware. If you are not, then make sure to indicate whether or not you want to pay for the hardware when you register to the conference and tutorial. Please make sure to place your order before March 13!
Note that buying a kit is absolutely not a prerequisite, and we will lend you one for the duration of the tutorial if you didn’t want or didn’t have time to order one for yourself.
Finally, if you are already in Boston on Sunday, 24th, we will welcome you at the Code Sprint session if you feel like you want to hack with us and have a sneak peek at the tutorial!
 Ha, and of course I am very excited by the

