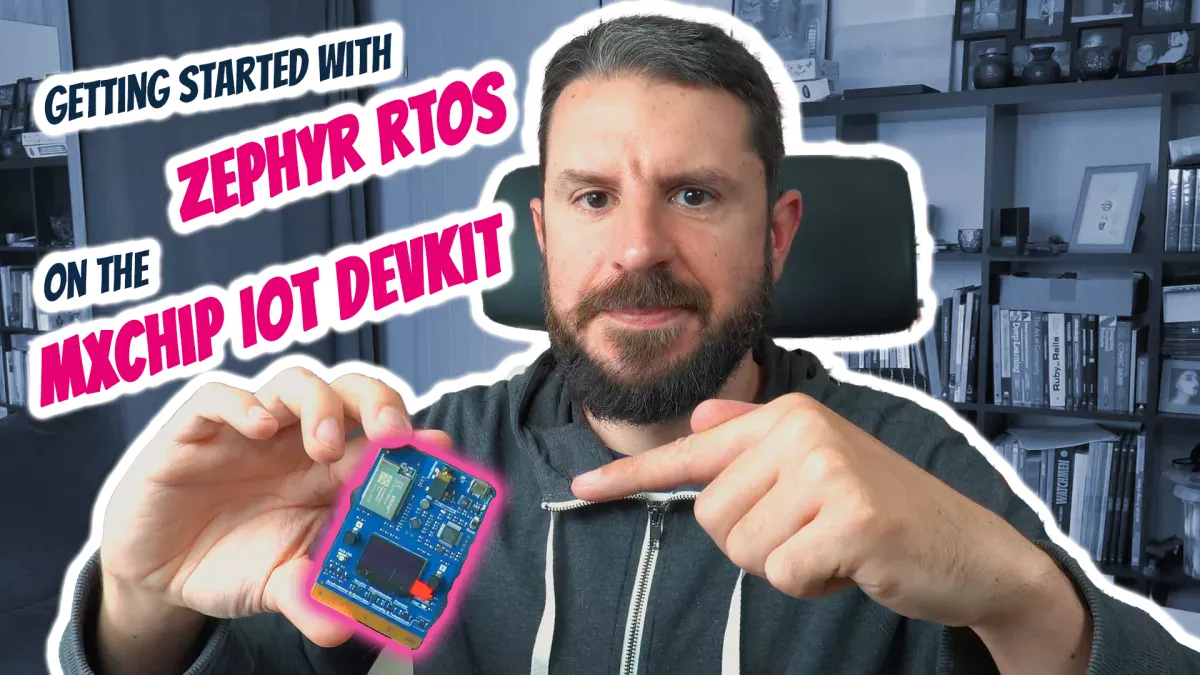
As you may have read in the latest edition of my Zephyr Weekly Update, Zephyr RTOS now has support for the very popular MXChip AZ3166 IoT DevKit!
There are tons of IoT developer kits out there, but this one is particularly interesting to me as it’s been used by Microsoft for many years as one of the reference platform for the Azure IoT demos and tutorials. Many folks all around the world have had the opportunity to play with it, and I thought adding support for it in Zephyr RTOS would be a good opportunity to give everyone an excuse to learn more about Zephyr by directly getting their hands dirty.
I have just posted the following short video on my YouTube channel, and I encourage anyone interested in dusting off their MXChip DevKit to watch it and give the Zephyr Getting Started a try 🙂
If you have any questions or need help, feel free to leave a comment below or on the video!
If you enjoyed this article, don’t forget to subscribe to this blog to be notified of upcoming publications! And of course, you can also always find me on Twitter and Mastodon.
Now that the holiday season is over, we’re fully into “conference season” mode, as the fall is packed with IoT conferences (look at our Events Calendar to see where we will have a presence in the next couple months). Last week, the Eclipse Foundation was exhibiting at M2M Summit with three of our member companies: Logi.cals, Generative Software and Bitreactive (who blogged about it).
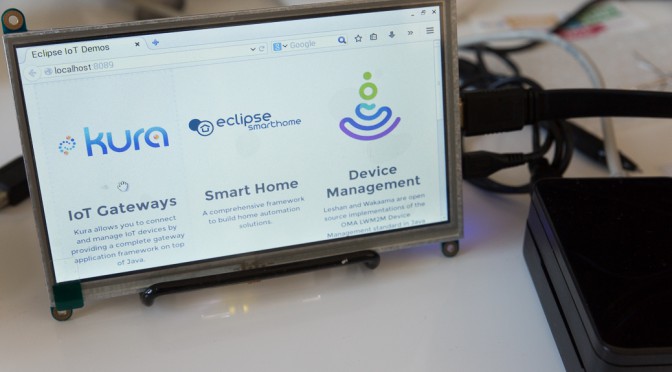
Since the number of Eclipse IoT projects keeps growing (we’re approaching 20!), it is sometimes difficult for people to quickly understand the problems each of these projects are trying to solve. While we’ve been pretty successful with the “Greenhouse demo™” over the past few years, this is a rather limited use case, and it does not really allow to showcase some of our newest projects.
This is why I started to create a new setup for Eclipse IoT demos, that I hope will be adopted by everyone interested in having an easy to setup platform for explaining what Eclipse IoT is all about. You should read this article until the end if you want to learn how to replicate this setup yourself!
During the weekend of February 1st, I had the opportunity to attend FOSDEM in Brussels.
It was only my second year but it’s definitely one of the events I enjoy attending the most: the crowd is very diverse and very curious, there are tons of talks that you can attend (if you can get a seat in the room – most of them are simply overcrowded), and the Belgian food is yummy!
I spent most of the weekend on the Eclipse Foundation booth where together with Mike and Julien, we were showing Eclipse IoT technologies live.
Photo credit: Julien Vermillard (@vrmvrm)
We’ve been asked several times what were the details of the setup and where one could find the source code, so here they are, with links to Github repos and gists:
A bunch of sensors attached to an Arduino, with a very basic sketch dumping sensor data to the serial port,
And last but not least, an Android Nexus 10 tablet that runs an augmented-reality app for displaying real sensor values in a pretty cool way 😉
Check out this cool 3-min video by 101blog (thanks again for the impromptu interview!) of the aforementioned setup in action.
http://www.youtube.com/watch?v=TfgAxV3z6ksDuring the weekend of February 1st, I had the opportunity to attend FOSDEM in Brussels.
It was only my second year but it’s definitely one of the events I enjoy attending the most: the crowd is very diverse and very curious, there are tons of talks that you can attend (if you can get a seat in the room – most of them are simply overcrowded), and the Belgian food is yummy!
I spent most of the weekend on the Eclipse Foundation booth where together with Mike and Julien, we were showing Eclipse IoT technologies live.
Photo credit: Julien Vermillard (@vrmvrm)
We’ve been asked several times what were the details of the setup and where one could find the source code, so here they are, with links to Github repos and gists:
A bunch of sensors attached to an Arduino, with a very basic sketch dumping sensor data to the serial port,