A consequence of the massive adoption of Internet of Things technologies across all industries is an increasing need for embedded development skills. Yet, embedded development has historically been a pretty complex domain, and not something that one can add to their skillset overnight.
Luckily, over the last decade, silicon vendors have put a lot of effort into simplifying embedded development, especially for people with little to no experience in the domain. Communities such as Arduino and PlatformIO have also immensely contributed to providing easy-to-use tools and high-level libraries that can hide most of the scary details—yes, assembly, I’m looking at you!—of embedded programming while still allowing for professional applications to be written.
In my experience though, there is at least one area where things remain overly cumbersome: graphical user interface (GUI) development. Many applications require at least some kind of graphical user interface: the display might be small and monochrome, with hardly any buttons for the user to press, but it’s still a UI, eh?
I am sure many of you will relate: GUI development can be a lot of fun… until it isn’t!
In this article, I have compiled 5 reasons why I tend to not enjoy writing embedded GUI code so much anymore. And since you might not be interested in simply reading a rant, I am also sharing some tips and some of the tools I use to help keep GUI development enjoyable 🙂.
Hardware Integration & Portability
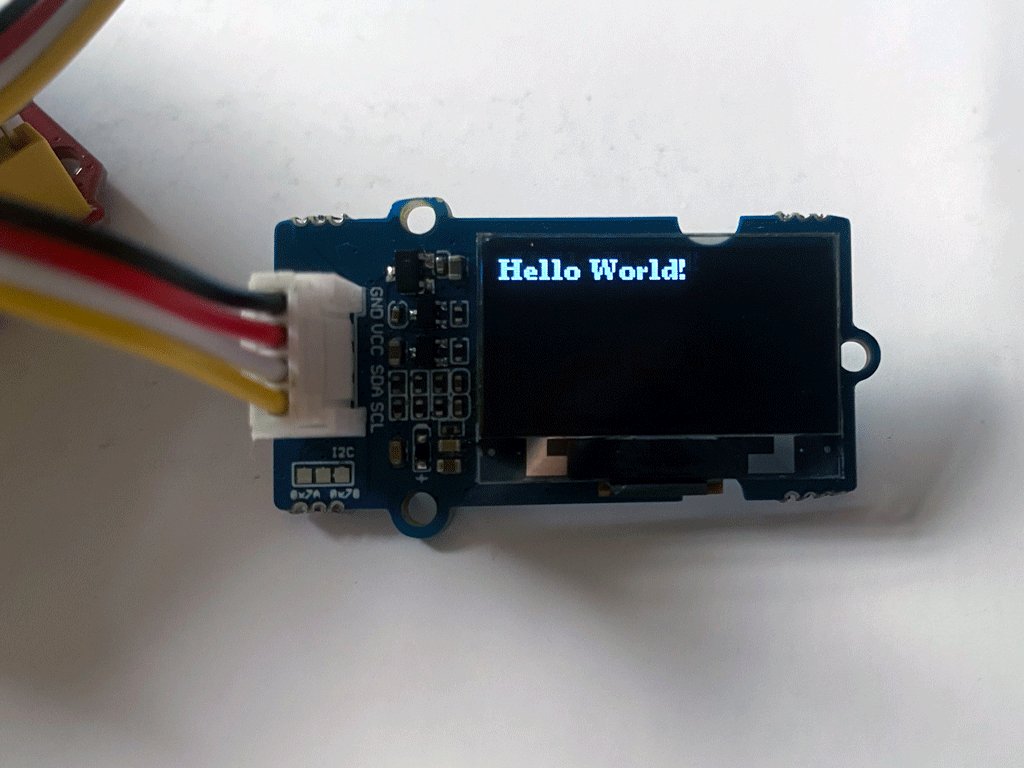
Most display devices out there come with sample code and drivers that will give you a head start in being able to at least display something.
But there is more to a GUI than just a screen, as an Interface is also made up of inputs, right? How about those push buttons, touch screen inputs, and other sensors in your system that may all participate in your interactions?
It might not seem like much, but properly handling simple hardware inputs such as buttons being pressed can be a lot of work when running on a constrained system, and you can quickly end up having to deal with complex timing or interrupt-management issues (see Event Management and “super-loop” section below for more). And as these often involve low-level programming, they tend to be pretty hardware-dependent and not easily portable.
A lot of embedded development is done using C, so, except for low-level bootstrapping code, embedded code can in theory be fairly portable. However, writing portable GUI code is a whole different story and unless you’re building on top of an existing framework such as LVGL or Azure RTOS GUIX, it requires a lot of effort to abstract all the hardware dependencies, even more so when trying to keep the performance optimal.
Of course, it is not always necessary (or possible) to have GUI code that’s 100% portable. However, in these times of global chip shortage, it can prove very handy to not have a hard dependency on a specific kind of micro-controller or LCD display.
Memory Management
Like I mentioned in the introduction, manipulating pixels can be a lot of fun—it really is! However, constrained systems have limited amounts of memory, and those pixels that you’re manipulating in your code can quickly add up to thousands of bytes of precious RAM and Flash storage.
Let’s take the example of a tiny 128×64 pixels monochrome display. As the screen only supports black & white, each pixel can be represented in memory using just a single bit, meaning a byte can hold up to 8 pixels—yay! But if you do the maths:
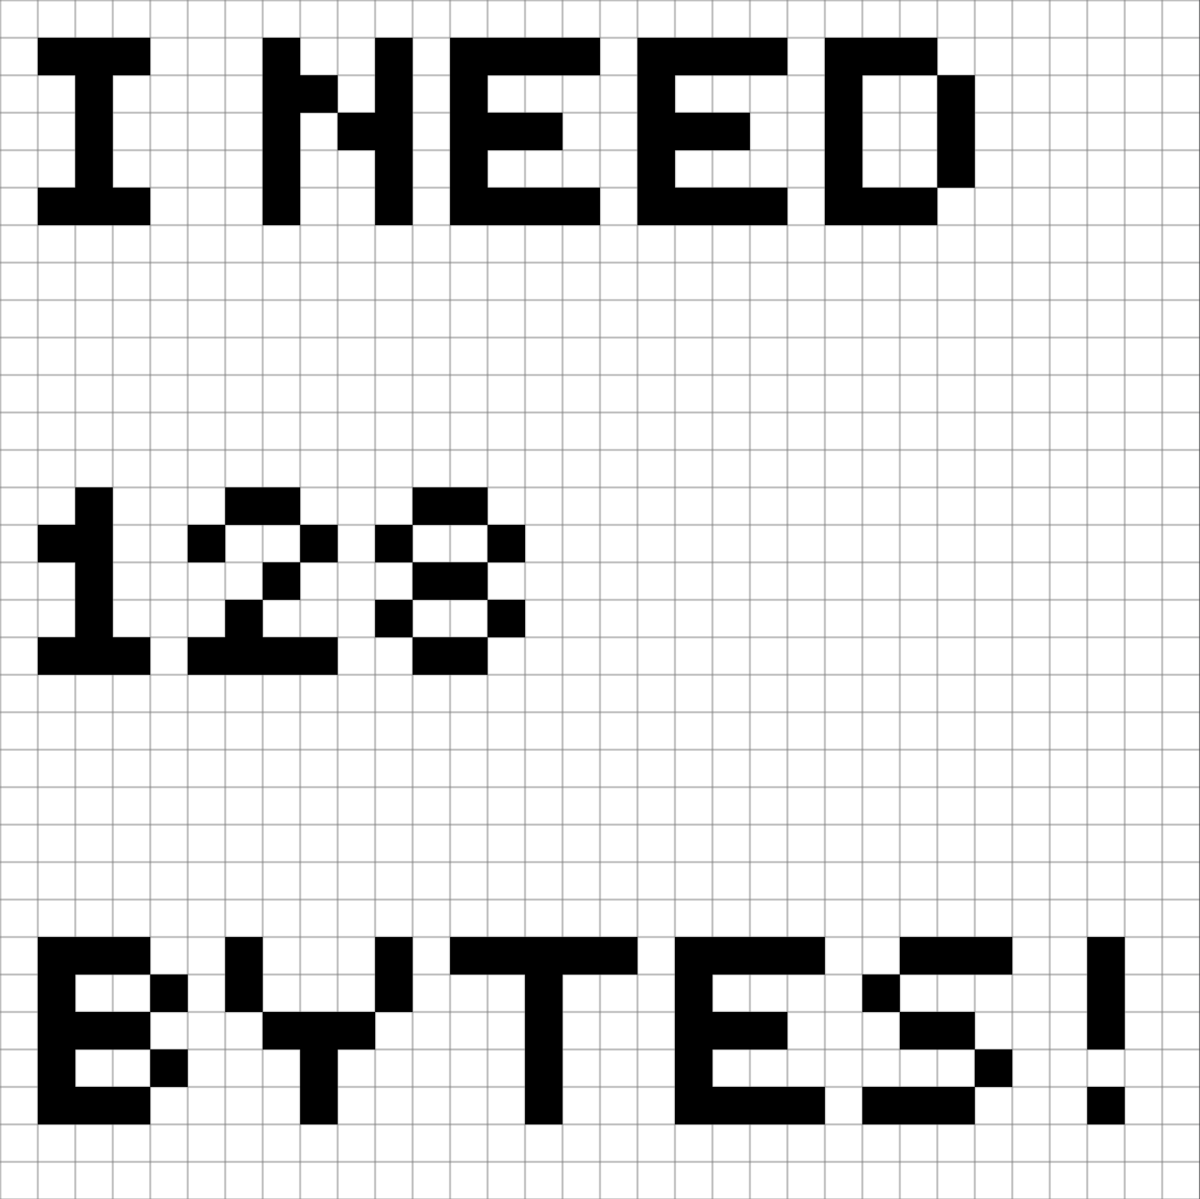
That’s already 1KB of RAM, which is quite significant if your MCU only has, say, 16KB total. Interested in displaying a handful of 32×32px icons? That will be an additional 128 bytes for each of these tiny icons!
In short: your graphical user interface will likely eat up a lot of your memory, and you need to be extra clever to leave enough room for your actual application. As an example, a quick way to save on graphics memory is to double-check whether some of your raster graphics (ex. icons) can be replaced by a vector equivalent: surely it takes a lot less code and RAM to directly draw a simple 32x32px red square on the screen, instead of having it stored as a bitmap in memory.
Resource Management
It can be tricky to properly manage the various resources that make up a GUI project.
More specifically, and whether you are lucky enough to work with a graphics designer or not, your GUI mockups will likely consist of a variety of image files, icons, fonts, etc. However, in an embedded context, you typically can’t expect to be able to directly manipulate that nice transparent PNG file or TrueType font in your code! It first needs to be converted in a format that allows it to be manipulated in your embedded code.
If you are a seasoned embedded developer, I am sure that you (or someone at your company) have probably developed your very own macros and tools to help you streamline the conversion/optimization of your binary assets, but in my experience it’s always been a lot of tinkering, and one-off, quick and dirty, conversion scripts, which impact long-term maintainability. Add version control to the mix, and it becomes pretty hairy to keep your assets tidy at all times!
Event Handling & Performance
Graphical programming is by nature very much event-driven. It is therefore quite natural to expect embedded GUI code to look as follows (pseudo-code):
Button btnOK;
btnOK.onClick = btnOK_click;

btnOK_click = function() {
  // handle click on button btnOK
  // ...
}
As you can imagine, things are not always that simple…
Firstly, C, which is still the most used embedded programming language, is not exactly object-oriented. As a consequence, even if it’s perfectly possible to aim for a high-level API that looks like the above, there is a good chance you will find yourself juggling with error-prone function pointers whenever adding/updating an event handler to one of your UI elements.
Assuming that you have indeed found an elegant way to associate event handlers to the various pieces of your UI, you still need to implement some kind of event loop. Indeed, you must regularly process the events happening in your system (“button A pressed”, etc.) and dispatch them to the proper event handlers. A common pattern in embedded programming consists in doing so through a so-called super loop: the program is running an infinite loop that invokes each task the system needs to perform, ad infinitum.
int main() {
    setup();

    while (1) {
        read_sensors();
        refresh_ui();
        // etc.
    }

    /* program's execution will never reach here */
    return 0;
}
A benefit of this approach is that the execution flow remains pretty readable and straightforward, and it also avoids some potential headaches that may be induced by complex multi-threading or interrupt handling. However, any event handler running for too long (or crashing!) can compromise the performance and stability of your main application.
As embedded real-time operating systems such as FreeRTOS, or Azure RTOS ThreadX are becoming more popular, a more modern approach is to have the UI event loop run in a dedicated background task. The operating system can therefore ensure that this task, given its lower priority, will not compromise the performance of your main application.
An embedded GUI does not always need to be performant as in fast and responsive. However, it is considered a good practice to use embedded resources as efficiently as possible. Making sure that your GUI & app code are as performant as reasonably possible can potentially save you a lot of money as it means you can stick to using the smallest possible MCU for the task.
Tooling
Last but not least: tooling. To be honest, I have never been a big fan of designing graphical user interfaces using a WYSIWYG (What You See Is What You Get) approach. That being said, coding a graphical user interface that has more than just a couple of screens requires at least some tooling support, since most of the “boring” glue code can often be automatically generated.
What’s more, testing an embedded GUI can quickly become painful, as re-compiling your app and downloading it to your target can take quite some time. This can be very frustrating when you need to wait minutes to e.g test how that new fancy animation you coded looks like. 😒
Over the past few months, I have started to use Renode more often. It is a pretty complete open-source tool suite for emulating embedded hardware—including their display!—straight from your computer. In a future post, I plan on sharing more on how I started to use Renode for drastically shortening the “inner embedded development loop”, i.e. the time between making a code change and being able to test it live on your—emulated!—device.
I would be curious to hear about your experience, and your pain points when working with embedded GUIs. Let me know in the comments below!
Like I already mentioned, stay tuned for upcoming articles where I will be covering some of the tools and frameworks that I have started to use (and love) and that make my life SO much easier when it comes to GUI development!
If you enjoyed this article, don’t forget to subscribe to this blog to be notified of upcoming publications! And of course, you can also always find me on Twitter and Mastodon.
8 replies on “5 Reasons Why I Dread Writing Embedded GUIs”
You are right!
One way is using web based UI.
In this field you can think about Jupyter and Voilà which allow doing simple UI lean.
Of course, for Arduino, it is a bit bloated.
But it works well on Raspberry PI even with a PI 3A+ (512MB RAM)
So it is a solution for small linux embedded.
Thanks for another great article! Looking forward to your Renode articles!
One of the pain points in GUI development is adding a new feature/screen at a later stage of development which requires more memory than your initial estimation!
Very Eagar to learn more about GUI development. It is quite frustrating for first-time users like me to develop screens from pixel to pixel.
until you publish can you share any reference for display with ESP32.
I usually use a web interface when I have to do any type of ui embebbed. When this is a request, usually my tool of choise is an ESP32 or similar, because I can store simple webpages on its storage, and just output for the user.
Recentlly I had to do a small tamagotchi game ruuning in a ESP8266, and a OLED display. But beacause the animations could be updated using a webserver, I just stored the frames as simple text, and read them and displayed in the screen, and then freed the memory just after. Of couse, it makes easy that is was just a black and white display.
You don’t need 1kB of memory to drive a 128×64 display. You’ll need a lot less if you use the right library. Typically, most embedded GUI library use a ROI principle, where they have a very limited buffer (64 to 128 bytes) and the redraw loop is called multiple time. Each time, the ROI is changed (but you don’t see it, since it’s the same function that’s called) so only that part of the display is updated.
So instead of refreshing your 128×64 display 30 times per second, it’s refreshing 128×8 pixels 240 times per second. But doing so only consume CPU power and not memory which is scarce.
[…] 5 Reasons Why I Dread Writing Embedded GUIs – Benjamin Cabé. […]
[…] 5 Reasons Why I Dread Writing Embedded GUIs – Benjamin Cabé. […]
[…] am always excited to see more display drivers being added. Did I mention how much I love embedded GUIs? The Orise Tech OTM8009A LCD panel driver from Orise Tech can now be used with Zephyr (84fc689d48). […]