Now that the holiday season is over, we’re fully into “conference season” mode, as the fall is packed with IoT conferences (look at our Events Calendar to see where we will have a presence in the next couple months). Last week, the Eclipse Foundation was exhibiting at M2M Summit with three of our member companies: Logi.cals, Generative Software and Bitreactive (who blogged about it).
Since the number of Eclipse IoT projects keeps growing (we’re approaching 20!), it is sometimes difficult for people to quickly understand the problems each of these projects are trying to solve. While we’ve been pretty successful with the “Greenhouse demo™” over the past few years, this is a rather limited use case, and it does not really allow to showcase some of our newest projects.
This is why I started to create a new setup for Eclipse IoT demos, that I hope will be adopted by everyone interested in having an easy to setup platform for explaining what Eclipse IoT is all about. You should read this article until the end if you want to learn how to replicate this setup yourself!
Making the Raspberry Pi more demo friendly
First of all, it is worth mentioning that I have now adopted the Raspberry Pi 2 for IoT demos, since having more horsepower means you get to run more processes simultaneously, which is exactly what I need when I want to demo several projects at the same time (even though this is probably not what you would do in a real-life scenario).
Adding a touchscreen
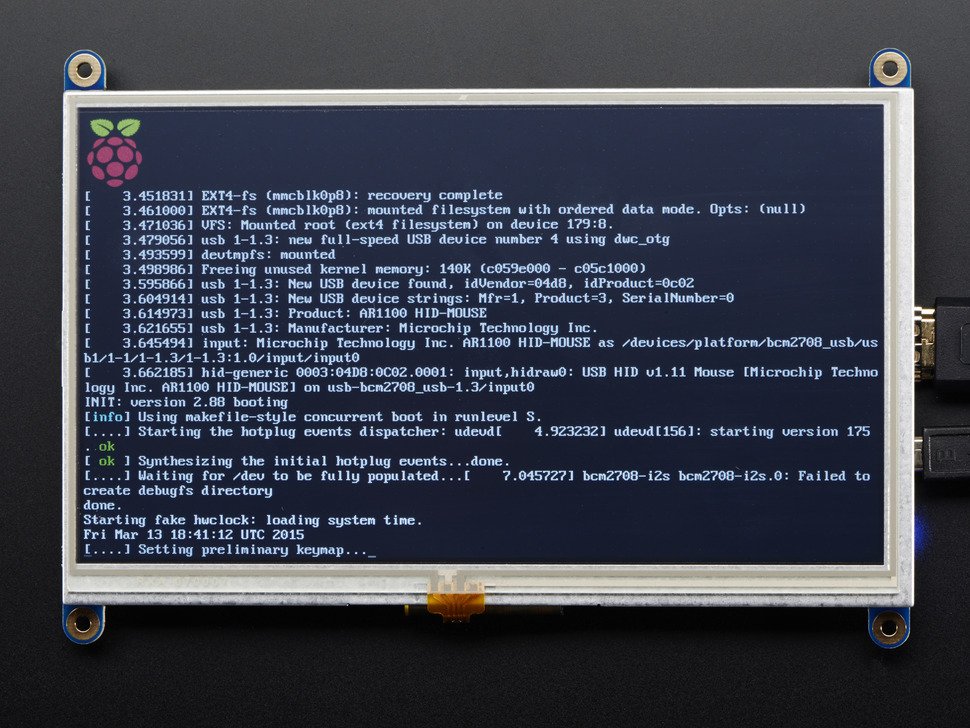
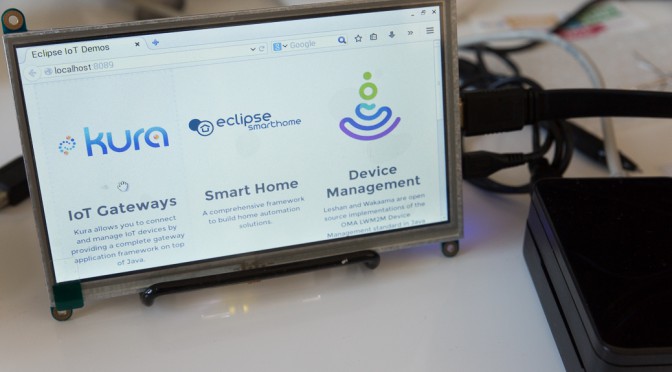
In order to allow for easy interaction, I’ve added a touchscreen. I was one week early to get the brand new PITFT from the Pi Foundation, so I got a 7″ HDMI dispay from Adafruit, for about $90. It’s pretty nice as it doesn’t require external power, and uses an HDMI cable (vs. the much more fragile DSI ribbon cable of the PITFT).
Running the IoT servers locally
When you make demos on the fly, you do not always have Internet access. Therefore, the Raspberry Pi runs a Mosquitto MQTT broker and a Leshan LWM2M server to make it possible to run demos “offline”.
Enabling wireless hotspot feature
Since I wanted to be able to demo applications where e.g. a smartphone talks to the MQTT broker that’s running on the Pi, I needed it to be a Wi-Fi hotspot, to make it easily accessible to devices in its neighborhood.
I’ve used a very simple setup script that will walk you through all the steps to enable the hotspot.
A demonstration platform
The Eclipse IoT demo box makes it easy to navigate through the different projects, all from a web browser. For the projects that require command line interaction, the shell is also visible right from the web browser thanks to term.js.
I’ve made it as easy as possible to add new “tiles” to the demo box home screen, and associate the required actions to actually launch the demo behind a given tile.
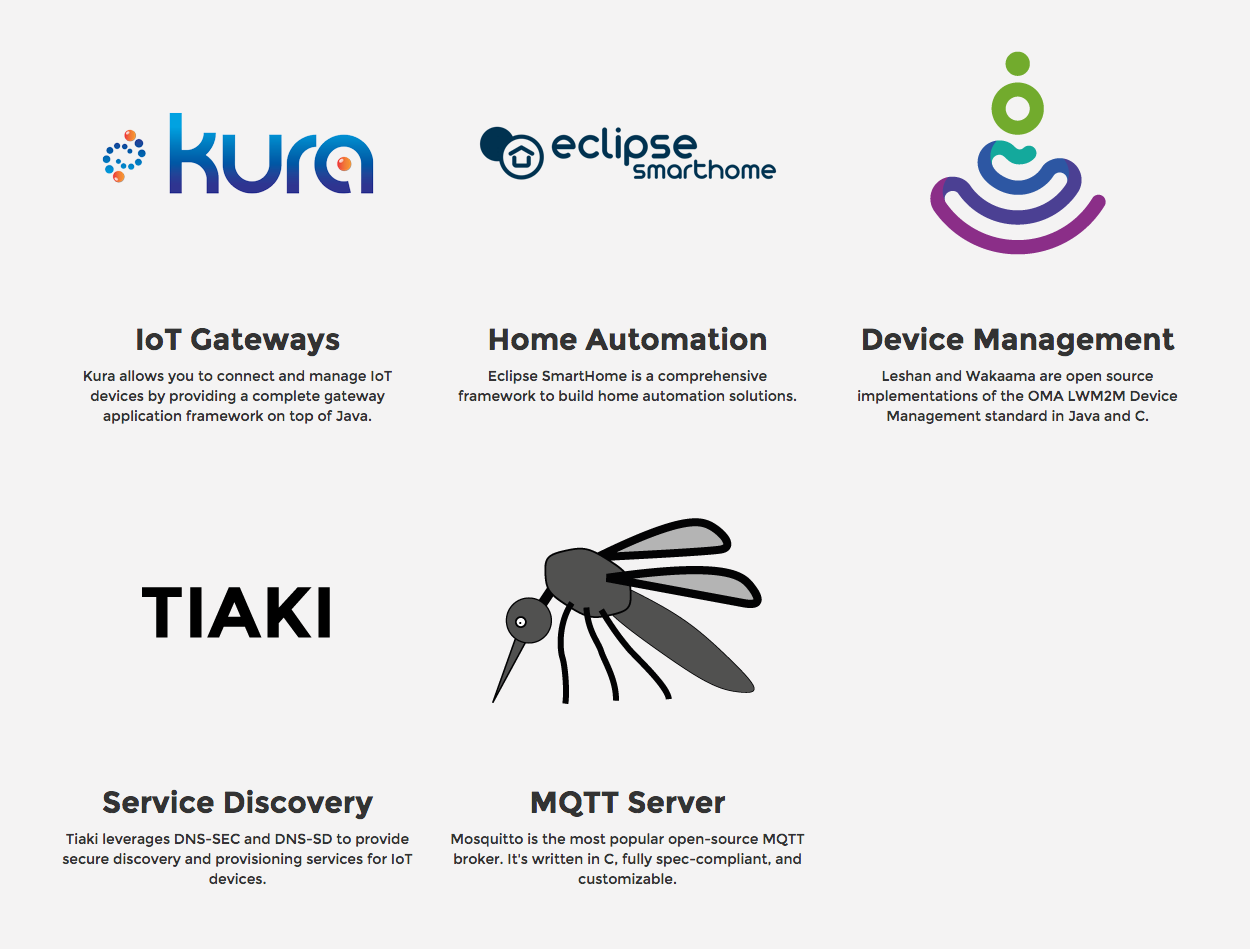
As of today, the demonstrators included in the “demo box” are:
- IoT Gateways: This helps discover the capabilities of Kura, and reuses the existing “Greenhouse demo” (including sensors) to showcase how Kura can act as an IoT application container.
- Smart Home: The Raspberry Pi runs the SmartHome/OpenHAB 2 demo bundle, and if you attach a WeMo plug or a Philips Hue to the same network as the Raspberry Pi, you can start showing some really cool features like automatic device discovery!
- Device Management: The box runs the Leshan LWM2M server, and a simple Wakaama client registers against this server so as you can start performing device management operations
- Service Discovery: Tiaki provides an implementation of DNS-SD, and the demo box allows you to quickly run its command line examples
- MQTT and Mosquitto: For people not familiar with the MQTT “way of life”, I’ve packaged a nice live visualization of the MQTT topics hierarchy that allows to understand better what’s happening on the Mosquitto broker that is running on the demo box.
How to replicate the demo setup
As I said at the beginning of this post, I would really like to see lots of people building on top of this demo infrastructure, and start integrating their own open source or commercial demos with the existing ones.
It should actually be pretty easy and fun for you to recreate the Eclipse IoT Demo Box:
- Get yourself a Raspberry Pi 2 and a touchscreen
- Go to https://github.com/kartben/eclipseiot-demobox and follow the instructions on the README
- That’s it!
Please let me know if you try it out, I am very interested in getting your feedback!