In just about a week is EclipseCon France, and here’s one more reason why it’s going to be awesome! This year you will all be actors of a real-world Internet of Things setup, that leverages several Eclipse IoT technologies.
We’ve been wanting to do this for a couple years, and finally the great folks at the Grenoble University gave us a hand to build a system that will allow every EclipseCon France attendee to easily evaluate all the sessions!
How does it work?
Click on the drawing below and read the following chapters to learn more on how this voting mechanism has been implemented.

NFC badges
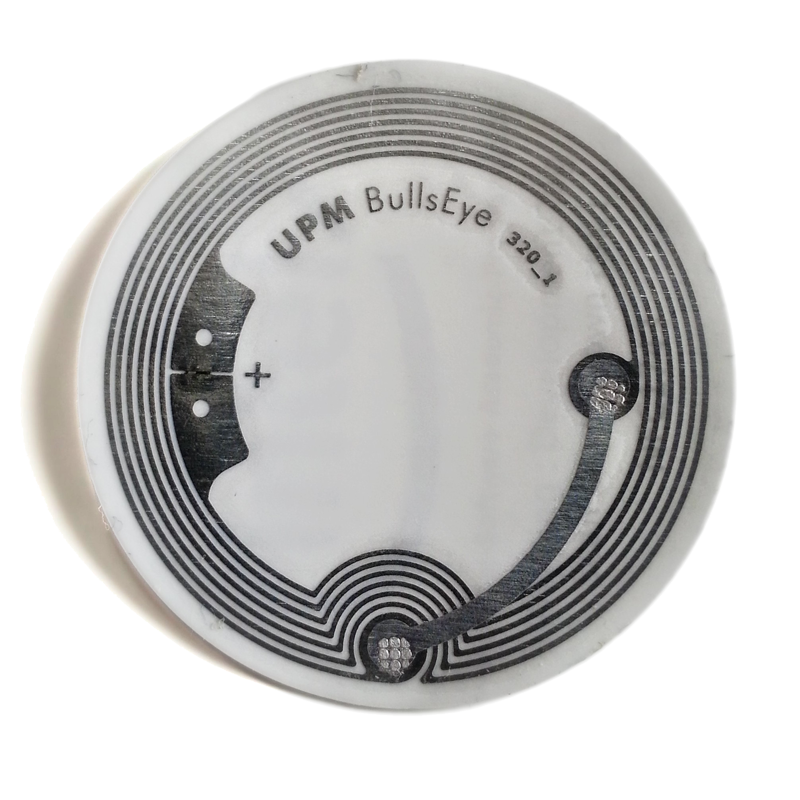
 At the heart of the voting system is the NFC technology. In case you are not familiar, NFC (Near field Communication) allows to transmit information between devices when there are close to each other. The kind of information that can be exchanged depends on what devices are involved in the communication: two phones can e.g. use NFC to exchange contact infos or bookmarks (see Android Beam).
A use case that is very common is the use of RFID tags to “stick” information to an object, and allow this information to be retrieved later by any NFC-reader (smartphone, USB dongle attached to a computer, …). At a very minimum, this information is an ID that is unique to the tag and allows to identify the object you are “reading” ; other information can be stored in the tag but usually you only have just a few hundred bytes of memory on these lil’ things.
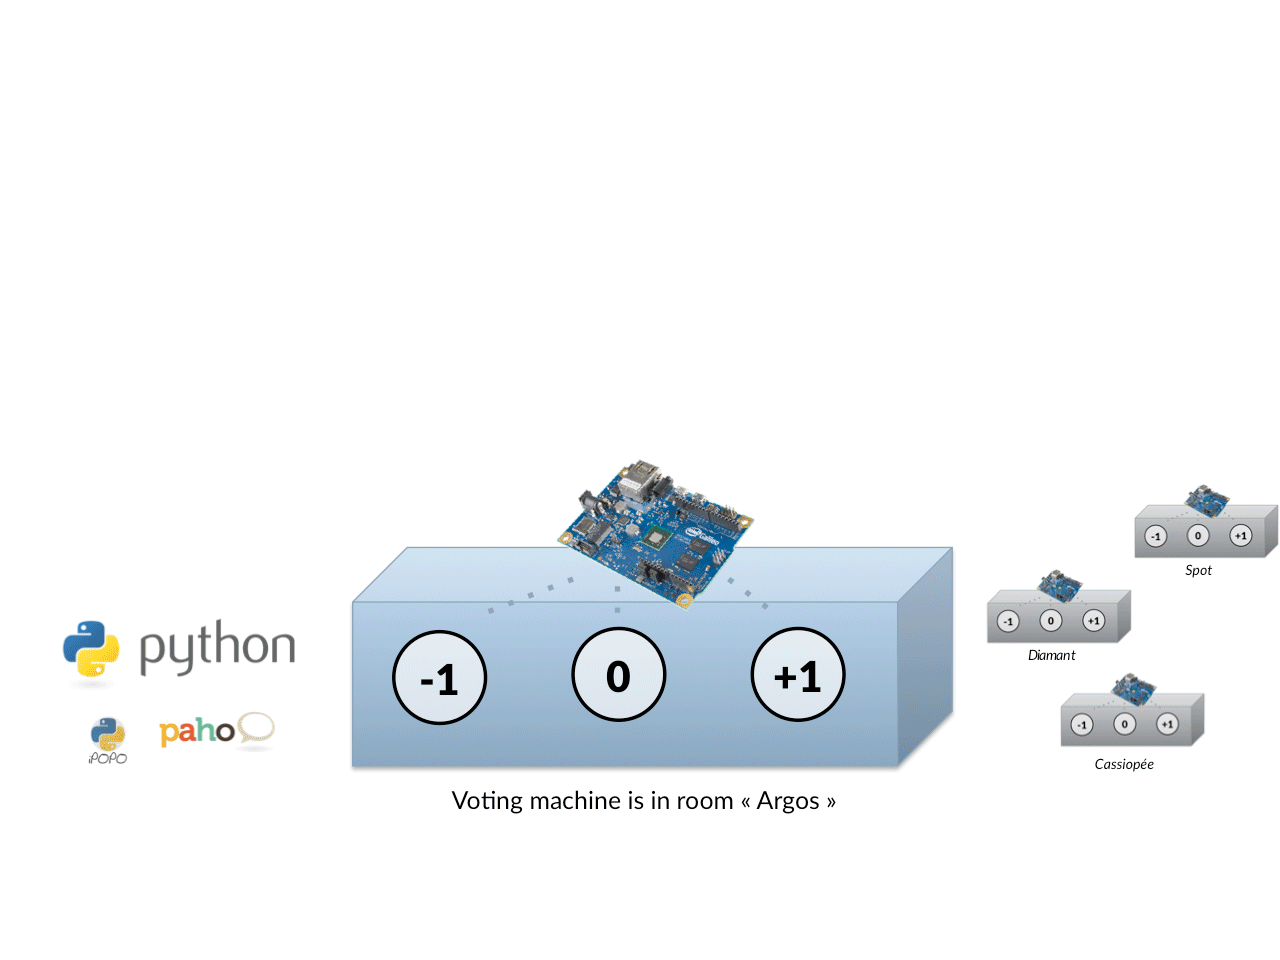
In the context of the voting machine, we will be adding an RFID tag to each participant’s badge, allowing to track who’s who when a vote will be performed, according to the unique ID of the badge.
Inside the voting machine, an MQTT publisher
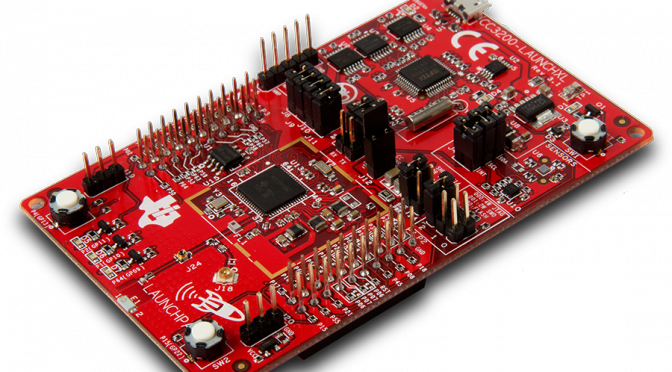
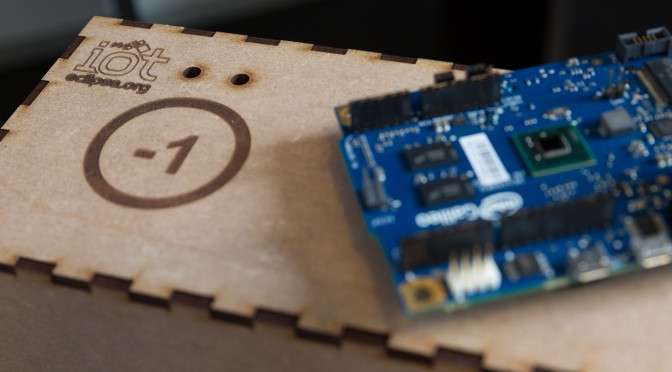
Inside the voting machine is an Intel Galileo board (if you’ve ever heard of the Raspberry Pi, and I bet you did, the Galileo is a very similar beast, running on an Intel chip when the Raspberry Pi runs on an ARM architecture) that runs Linux, iPopo, and a Python MQTT client from Eclipse Paho. Attached to the Galileo are three NFC USB dongles that allow to detect the presence of a tag in front of the -1, 0, and +1 areas of the voting machine. iPopo is an OSGi-like container for Python scripts, and in our case it’s running several bundles for doing the NFC tags detection, handling the MQTT communication, etc. You can actually check out the source code of the Python bundles on Github.
Whenever a tag is in proximity of the voting machine’s -1/0/+1 areas, a very simple MQTT message (the NFC tag ID and the vote are the only informations transmitted) is sent to iot.eclipse.org, allowing any consumer to subscribe to the broker to make sense of this information.
Interaction with eclipsecon.org
One of the strength of MQTT and an actual requirement for making scalable IoT architectures, is the ability to decouple data producers from consumers. And this is exactly what we are leveraging in the context of these voting machines: each voting machine publishes very naive messages to a broker, and it’s very easy to add a new node on the IoT network that will monitor such messages, and react. One node could be responsible for persisting the votes in a database, another could display them graphically, etc. The important point being that we’re not introducing any tight coupling between all these “agents”.
So in order to convert the raw vote “signals” into meaningful votes that can be fed into the eclipsecon.org website, we need to have a new node on the network that will have the knowledge of:
- the mapping between NFC tags IDs and attendees (since we want to eventually post session reviews on behalf of a conference badge owner),
- what session is in what room at a given time
Therefore in addition the voting machines, we’ve deployed a Raspberry Pi running a NodeJS application that uses MQTT to retrieve “raw” votes, compute the associated attendee + session for which the vote was made, and turns this information into ah HTTP POST request to the Drupal backend that powers eclipsecon.org!
See you real soon!

Thanks again to the LIG team, and to Paul Guermonprez from the Intel Software Academic Program who provided most of the hardware used in the voting machines.
I’m really looking forward to seeing these cool machines in action next week! If you haven’t already, wait no longer and register today before the registration fee goes up!